

Common Cleansing Oil Mistakes — and How to Fix Them
Most cleansing-oil problems come down to technique errors, not the product itself. Apply oil to dry skin, emulsify with lukewarm water until the texture turns milky, and rinse thoroughly — those three steps alone fix the majority of complaints. Here’s the fast version of what goes wrong and how to correct it:
- Applying oil to damp skin — water blocks the oil from binding to makeup and sebum. Fix: always start with a dry face and dry hands.
- Skipping emulsification — oil left on skin without adding water traps dissolved impurities on the surface. Fix: splash lukewarm water and massage until the oil turns milky white.
- Using hot water — heat disrupts the skin’s moisture barrier and can trigger excess oil production. Fix: lukewarm only.
- Rinsing incompletely — residue creates a physical film that blocks actives like retinoids and acids. Fix: rinse until skin feels clean, not slick.
- Wrong oil choice — highly comedogenic oils like coconut oil clog pores on many skin types. Fix: choose non-comedogenic formulas (jojoba, squalane, grapeseed).
- Unnecessary double cleansing — stripping the barrier when you’re not wearing SPF or heavy makeup. Fix: double-cleanse only when you need it.
- Too-short massage time — under 60 seconds rarely dissolves a full face of makeup. Fix: aim for 60–120 seconds of gentle, circular massage; use the 4-2-4 method only if your skin tolerates it.
- Poor hygiene and storage — contaminated tools and open bottles degrade the formula. Fix: clean hands, capped bottle, fresh cloths.
Table of Contents
- Why do common cleansing oil mistakes matter?
- What are the top cleansing oil mistakes — and exactly how do you fix them?
- How to do a correct oil-cleansing routine tonight
- When should you double-cleanse — and when should you skip it?
- Which ingredients in cleansing oils should you avoid?
- How do you know if oil cleansing is working — or causing problems?
- Hygiene, storage, and safety: keep your cleanse effective and sanitary
- What do dermatologists and clinical research actually say?
- Key Takeaways
- The case for doing less, better
- Spyraverified’s picks for cleansing oils worth trying
- Further reading and sources used to build this guide
Why do common cleansing oil mistakes matter?
Cleansing oils work on a simple principle: oil dissolves oil. The lipophilic molecules in the formula bind to oil-based impurities — makeup, SPF, excess sebum — pulling them away from the skin’s surface. That part is chemistry, and it happens automatically.
The mechanical step is where most people slip up. Emulsification is not optional. When you add water and massage, the formula shifts from a clear oil into a milky emulsion, and that transformation is what allows the impurity-laden oil to rinse cleanly away. Skip it, and you’re essentially spreading dissolved makeup back across your face.
Water temperature and massage time both affect how well this works. Too-hot water opens the door to barrier disruption before the oil even has a chance to do its job. Too little massage time means the oil never fully contacts congested pores or stubborn SPF. Getting the chemistry right requires getting the technique right.
What are the top cleansing oil mistakes — and exactly how do you fix them?
-
Applying oil to damp skin. This is the single most common cleansing oil application error. Water on the skin’s surface dilutes the oil immediately, preventing it from binding effectively to makeup and sebum. The fix is simple: dry hands, dry face, every time. Apply two to three pumps of oil and begin massaging before any water touches your skin.
-
Skipping or rushing emulsification. Once you’ve massaged the oil for at least 60 seconds, cup a small amount of lukewarm water in your palms and work it into the oil still on your face. You’re looking for a specific visual cue: the oil should turn opaque and milky, almost like a light lotion. If it stays clear and slick, you haven’t added enough water or massaged long enough. Residue left behind from incomplete emulsification creates a physical barrier that prevents actives like retinoids and acids from penetrating — which explains why many people assume their expensive serums aren’t working.
-
Using water that’s too hot. Hot water disrupts the skin’s moisture barrier and can trigger reactive excess oil production — the opposite of what you want from a cleanse. Lukewarm is the right temperature: warm enough to feel comfortable, cool enough that you could hold your hand under it without discomfort. Think “baby bath” temperature.
-
Incomplete rinsing. After emulsifying, rinse with several splashes of lukewarm water. Run clean fingers across your jawline and hairline — two spots people consistently miss. Skin should feel soft and slightly hydrated after rinsing, not slick or greasy. If it feels slick, rinse again.
-
Choosing the wrong oil. Coconut oil is highly comedogenic and a frequent cause of clogged pores when used on the face, yet it shows up in many DIY recipes and poorly labeled products. Added fragrance and essential oils are another common offender, particularly for sensitive skin. Look for non-comedogenic formulas instead.
-
Over-cleansing or unnecessary double cleansing. Double cleansing is genuinely useful when you’re wearing daily SPF or full makeup. On a minimal-product day, a single thorough oil cleanse is enough — adding a second cleanser strips barrier lipids you want to keep. Match your routine to what’s actually on your skin.
-
Too-short massage time. Sixty seconds is a reasonable floor for a light makeup day; 90–120 seconds is more realistic for a full face of foundation and SPF. The 4-2-4 method (four minutes of oil massage, two minutes with a foaming cleanser, four minutes of alternating rinses) is a documented timing option for thorough cleansing, but it’s not for everyone — sensitive skin can react to that much friction and time.
-
Hygiene and storage gaps. Contamination from double-dipping fingers into jars or using dirty cloths introduces bacteria that degrade both the product and your skin. Keep the cap closed between uses, store the bottle away from steam, and use a fresh cloth every time.
Pro Tip: If you wear waterproof mascara, soak a cotton pad in the oil and hold it gently over closed lids for 10–15 seconds before massaging. It dissolves the mascara without the tugging that causes lash loss.
How to do a correct oil-cleansing routine tonight
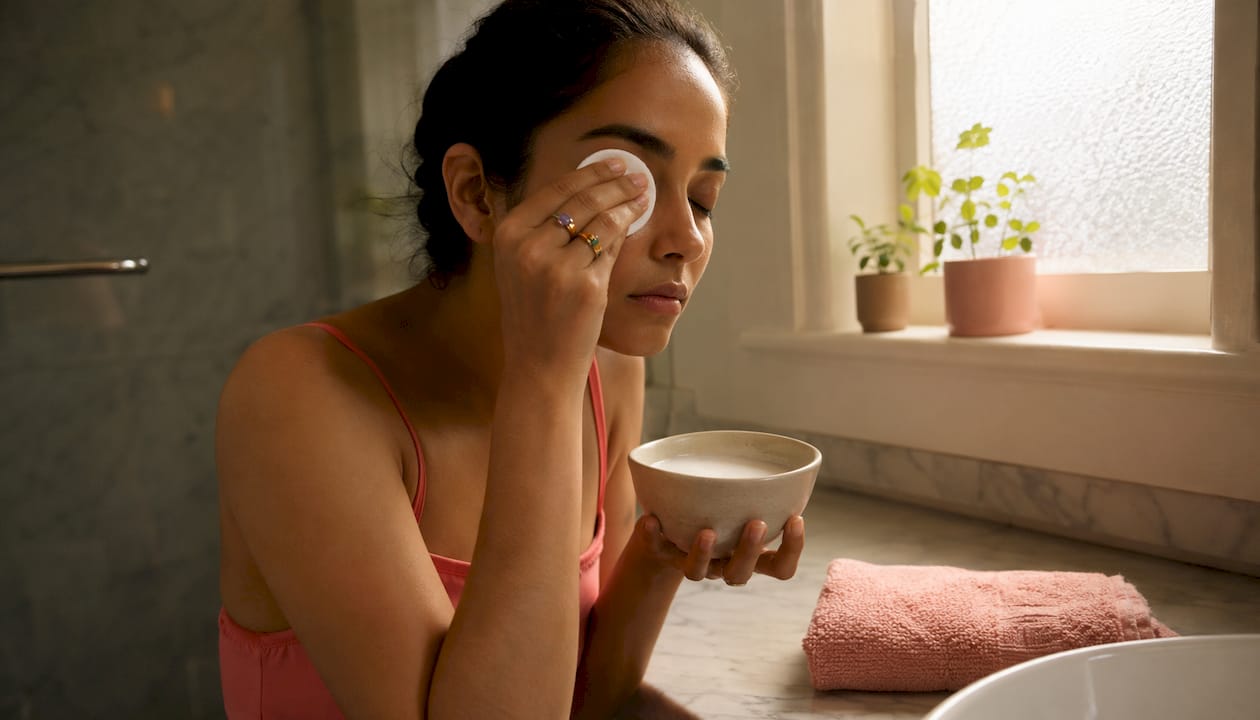
Follow this sequence and you’ll cover every step that matters.
| Step | Action | Duration |
|---|---|---|
| 1. Prep | Dry hands, dry face. Dispense 2–3 pumps of oil into palms. | — |
| 2. Massage | Apply to face in circular upward motions; focus on T-zone, lash line, and areas with SPF or makeup. | 60–120 seconds |
| 3. Emulsify | Cup lukewarm water in palms, work into oil on face until texture turns milky. | 20–30 seconds |
| 4. Rinse | Splash lukewarm water 5–6 times; check jawline and hairline for residue. | 30 seconds |
| 5. Optional second cleanse | Use a gentle water-based cleanser only if wearing SPF or heavy makeup. | As needed |
| 4-2-4 advanced option | 4 min oil massage, 2 min foaming cleanser, 4 min alternating rinses — for non-sensitive skin only. | 10 minutes total |

After rinsing, your skin should feel soft and comfortable, not tight. Tightness is a signal that either the formula is too stripping or you used water that was too hot.
Pro Tip: For congested areas like the nose and chin, use slightly more pressure and spend an extra 20–30 seconds in circular motions. The oil needs time to work into pores, not just glide across the surface.
A note for sensitive skin: skip the 4-2-4 method entirely and keep massage time to 60–90 seconds with light pressure. More time and friction is not always better.
When should you double-cleanse — and when should you skip it?
The decision is straightforward once you know the criteria.
Double-cleanse when:
- You wore SPF that day (sunscreen is oil-based and notoriously hard to remove with a single cleanse)
- You applied foundation, concealer, or waterproof eye makeup
- You live in a high-pollution urban environment and want a thorough end-of-day cleanse
- You use heavy or long-wear products that don’t emulsify easily
Skip the second cleanse when:
- You wore little to no makeup or SPF (a rest day, a weekend at home)
- Your skin is dry, sensitive, or showing signs of barrier stress — redness, flaking, or a tight feeling after cleansing
- You already emulsified and rinsed thoroughly and your skin feels clean
An office worker who applies SPF 50 every morning and wears tinted moisturizer benefits from double cleansing every evening. The same person on a Sunday with no products on their face? One well-executed oil cleanse is plenty. Matching the routine to actual product load is the whole game.
Which ingredients in cleansing oils should you avoid?
Ingredients to be cautious with:
- Coconut oil — highly comedogenic; clogs pores on acne-prone and combination skin types
- Isopropyl myristate and isopropyl palmitate — synthetic esters that can cause milia and comedones in some skin types
- Added fragrance and essential oils (lavender, citrus, peppermint) — common irritants, especially for sensitive or reactive skin
- Heavy silicones in high concentrations — can sit on the skin and interfere with rinsing
Ingredients to look for:
- Jojoba oil — technically a liquid wax; closely mimics sebum and is non-comedogenic
- Grapeseed oil — lightweight, non-comedogenic, suits oily and combination skin
- Squalane — derived from sugarcane or olives; non-comedogenic, excellent for dry and sensitive skin
- Argan oil — rich but generally well-tolerated; good for dry skin types
Look for formulas labeled “oil-to-milk” or “emulsifying cleansing oil” — these contain built-in emulsifiers that make the milky transformation easier and more complete. Fragrance-free labels matter more than most people realize, particularly if you’re new to oil cleansing and trying to isolate whether a reaction is technique-based or ingredient-based.
Patch-test any new formula on your inner arm for 24 hours before applying it to your face. It takes 30 seconds and saves you a week of guessing.
How do you know if oil cleansing is working — or causing problems?
The first one to three weeks can be confusing. Some people experience a brief adjustment period where skin texture changes slightly as the routine shifts. This is not the same as a reaction.
Signs the routine is working:
- Skin feels soft and comfortable after rinsing, not tight or greasy
- Makeup and SPF rinse away cleanly
- Actives applied afterward (vitamin C, retinoids) seem to absorb better
- Pore congestion gradually reduces over two to four weeks
Signs something is wrong:
- New comedones (closed whiteheads or blackheads) that persist beyond two weeks — this points to a comedogenic ingredient, not purging
- Worsening redness, flaking, or a burning sensation — likely a fragrance or essential oil reaction
- Skin that feels tight and dry after every cleanse — the formula may be too stripping, or water temperature is too high
Purging and comedogenic reactions are frequently confused. Purging is a short-lived increase in surface breakouts as skin cell turnover accelerates; it typically resolves within one to two weeks. Persistent or worsening breakouts beyond that window almost always trace back to an ingredient problem, not an adjustment phase. Check the formula for coconut oil, isopropyl myristate, or heavy fragrance.
Pro Tip: If you suspect a reaction rather than purging, stop the oil cleanser for five days and switch to a gentle, fragrance-free water-based cleanser. If the breakouts or redness clear up, the oil formula is the culprit.
For persistent reactions, redness that doesn’t resolve, or suspected allergy, see a board-certified dermatologist rather than cycling through more products.
Hygiene, storage, and safety: keep your cleanse effective and sanitary
Daily habits that prevent contamination:
- Wash hands before cleansing — bacteria transfer from fingertips to product and back to skin
- Cap the bottle immediately after each use; steam from a hot shower degrades oil formulas faster than most people expect
- Avoid double-dipping fingers into jar-style products — use a clean spatula or dispense onto your palm first
- Use a fresh cloth every session — muslin cloths and reusable micellar pads should be washed after every use; single-use cotton rounds are the lowest-contamination option
Storage matters more than the label suggests. A cool, dark shelf outside the bathroom is better than a steamy shower caddy. Watch for changes in texture (cloudiness, separation) or smell (rancidity) — both signal that the formula has degraded and should be replaced. Most cleansing oils have a shelf life of 12–24 months unopened; once opened, use within six to twelve months.
What do dermatologists and clinical research actually say?
The practical rules in this guide are grounded in published research, not just convention.
Water temperature and barrier health: A PubMed study confirms that hot water disrupts the skin’s moisture barrier and can trigger reactive sebum overproduction — the clinical basis for the “lukewarm only” rule. Barrier disruption from repeated hot-water exposure compounds over time, making it a cumulative risk, not just a single-cleanse problem.
Dermatologists also flag a specific contraindication worth knowing: people with seborrheic dermatitis are generally advised to avoid oil-based cleansers because Malassezia yeast, which drives the condition, feeds on certain lipids and can flare with oil application.
| Evidence-backed rule | Clinical basis | Who it applies to |
|---|---|---|
| Apply to dry skin | Oil binds impurities more effectively without water dilution | All skin types |
| Lukewarm water only | Hot water disrupts barrier lipids and triggers reactive oil production | All skin types |
| Emulsify thoroughly | Incomplete emulsification leaves dissolved impurities on skin | All skin types |
| Avoid oil cleansers | Malassezia feeds on lipids; oil cleansers can worsen flares | Seborrheic dermatitis |
| Limit 4-2-4 method | Extended friction and cleansing time can over-cleanse sensitive skin | Sensitive/reactive skin |
Dermatologists recommend oil cleansers as a gentler alternative to foaming surfactant cleansers for people who wear makeup or sunscreen daily, noting that correctly used oil cleansers can preserve barrier lipids rather than strip them. The operative phrase is “correctly used” — the technique rules above are what make the difference between a barrier-supportive cleanse and one that causes the problems people blame on the product.
Key Takeaways
Correct technique — dry skin application, thorough emulsification, and lukewarm rinsing — resolves the vast majority of cleansing oil problems before they start.
| Point | Details |
|---|---|
| Apply to dry skin | Always start with dry hands and a dry face; water dilutes the oil and prevents proper makeup and SPF removal. |
| Emulsify until milky | Add lukewarm water and massage until the oil turns opaque and milky — this step is not optional. |
| Avoid comedogenic ingredients | Skip coconut oil and added fragrance, especially for acne-prone or sensitive skin; choose jojoba, squalane, or grapeseed instead. |
| Double-cleanse only when needed | Use a second water-based cleanser only on days with SPF or heavy makeup; skip it on minimal-product days to protect your barrier. |
| Spyraverified for vetted picks | Spyraverified curates non-comedogenic, fragrance-free cleansing oils from Japanese and Asian brands — browse the skincare collection to find a formula matched to your skin type. |
The case for doing less, better
There’s a tendency in skincare to treat complexity as a sign of seriousness. More steps, more products, longer routines — it can feel like effort equals results. Oil cleansing exposes that assumption pretty quickly.
The people who struggle most with cleansing oils are usually doing too much: too many steps, too-hot water, too-long protocols on skin that can’t handle them. The people who get the best results are almost always doing the basics correctly — dry skin, proper emulsification, the right formula for their skin type — and then stopping.
What I find genuinely underappreciated is how much the emulsification step changes the experience. Most complaints about oil cleansing leaving skin greasy or breaking people out trace directly to skipping or rushing that one step. It’s not glamorous advice, but it’s the most reliable fix in the entire routine.
The other thing worth saying plainly: give any new oil cleanser two to four weeks before you judge it. Skin takes time to adjust, and a single bad week doesn’t tell you much. Track what you’re using, note how your skin feels after each cleanse, and change one variable at a time. That’s not a complex protocol — it’s just paying attention.
Spyraverified’s picks for cleansing oils worth trying
Finding a cleansing oil that actually works for your skin type shouldn’t require reading ingredient labels for an hour. Spyraverified curates Japanese and Asian cleansing oils selected for formulation quality and authenticity — every product on the site is sourced directly from manufacturers, so you’re getting the real formula, not a gray-market version.

When browsing, prioritize formulas labeled fragrance-free and non-comedogenic, and look for “oil-to-milk” or “emulsifying” in the product description — that built-in emulsifier is what makes the milky transformation happen reliably. The best Japanese cleansing oils tend to use lightweight plant oils like camellia and rice bran that suit a wide range of skin types without the comedogenic risk of heavier oils. Each product page includes usage notes so you know exactly how to apply it. Browse the Spyraverified skincare collection to find a formula that fits your routine, and reach out to customer support if you have questions about which option suits your skin type.
Further reading and sources used to build this guide
- PubMed: water temperature and skin barrier effects
- PubMed: Malassezia, lipids, and seborrheic dermatitis
- Glamour: how to use an oil cleanser, according to dermatologists
- Everyday Health: what is double cleansing and should you be doing it?
- Healthline: everything you need to know about the oil cleansing method
- Formula Botanica: camellia cleansing oil formulation and emulsification
- Weleda: oil cleansing mistakes to avoid
- Hale and Belle: oil cleansing mistakes and oil choices
- Dr. Oracle: adjustments when switching to cleansing oils
- ISDIN: how to use cleansing oil in your skincare routine
